The Best Fluffy Pancakes recipe you will fall in love with. Full of tips and tricks to help you make the best pancakes.

Making Pizza with Poolish: A Step-by-Step Guide
Pizza is undoubtedly one of the most beloved foods across the world, and for good reason. The crispy crust, delicious sauce, and toppings go together to create a flavor explosion in your mouth. But have you ever wondered how to make your pizza dough even better? The secret lies in using poolish, a pre-ferment made of flour, water, and yeast. In this step-by-step guide, we’ll go through everything you need to know to make pizza with poolish. So, roll up your sleeves, put on your apron, and let’s start making some delicious poolish pizza.
Understanding Poolish: The Secret to Great Pizza Dough
Before we get into how to make pizza with poolish, let’s first understand what it is and its benefits.
What is Poolish?
Poolish is a type of pre-ferment that uses a mixture of flour, water, and yeast. The mixture is then left to ferment for a certain period, depending on the recipe. Poolish is an essential ingredient in making pizza dough as it enriches the dough with flavor and develops gluten that makes the dough more elastic and easier to handle.
The Benefits of Using Poolish in Pizza Dough
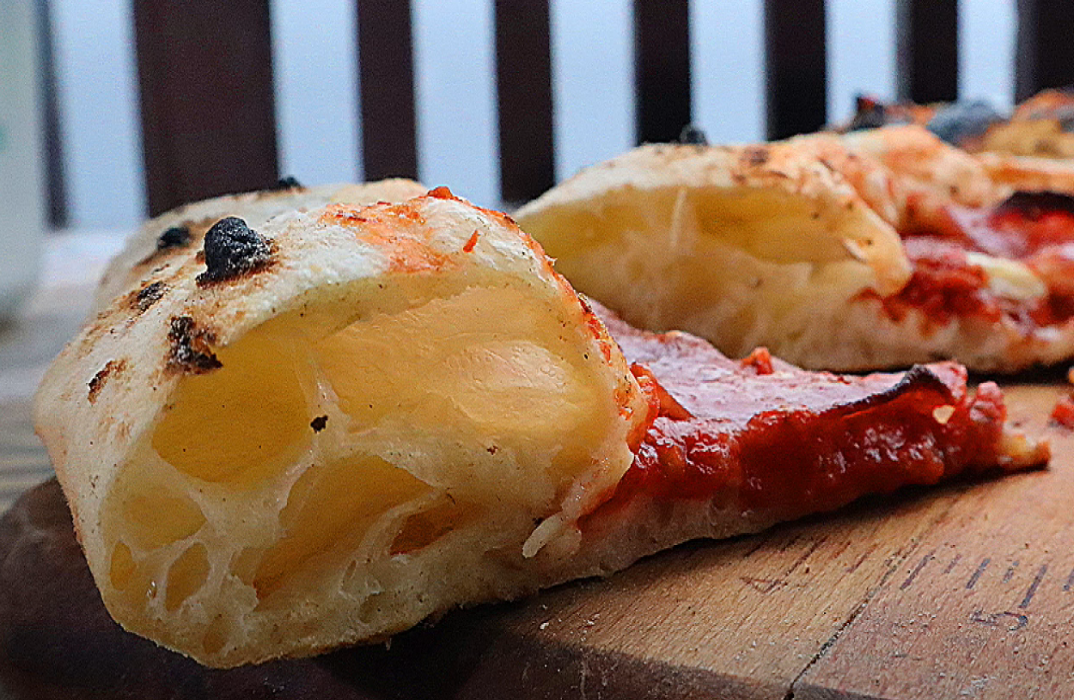
Using poolish in pizza dough has several benefits. Firstly, it improves the flavor of the dough by adding a subtle tanginess that pairs perfectly with tomato sauce and cheese. Secondly, due to the longer fermentation time, it gives the dough more time to develop, making it easier to digest. Lastly, it produces a crust that is crispy on the outside and tender on the inside.
Poolish vs. Other Pre-ferments
Poolish is just one type of pre-ferment, and there are others like sourdough starter or biga. The key difference between these pre-ferments and poolish is the hydration level. Poolish has a higher hydration level, which gives it a more liquid consistency. This makes it easier to incorporate into the dough, and it produces a more open crumb structure in the finished dough.
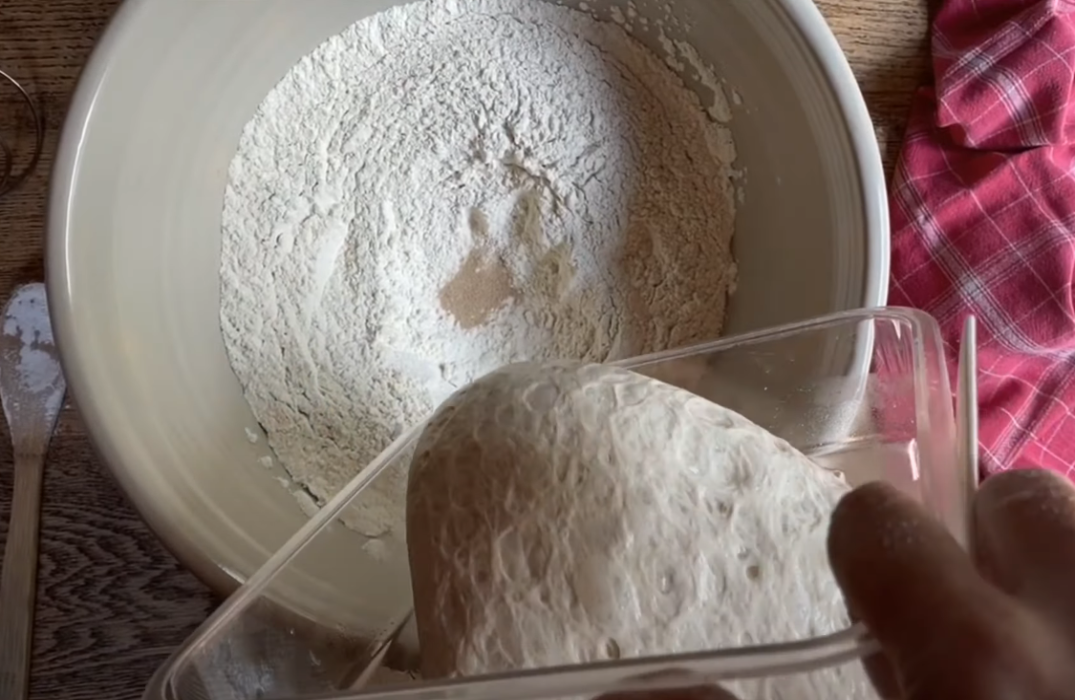
Now that we know what poolish is and its benefits, let’s dive into the process of making pizza dough with poolish. Firstly, you need to prepare the poolish by mixing flour, water, and yeast in a bowl. The ratio of flour to water can vary depending on the recipe, but a common ratio is 1:1. The yeast should be added in a small amount, usually around 0.1% of the total flour weight. Once the ingredients are mixed, cover the bowl with plastic wrap and let it ferment for several hours, usually overnight.
After the poolish has fermented, it’s time to make the pizza dough. In a separate bowl, mix together flour, water, salt, and any other ingredients you want to add, such as olive oil or herbs. Then, add the poolish to the bowl and mix everything together until a dough forms. Knead the dough for several minutes until it becomes smooth and elastic.
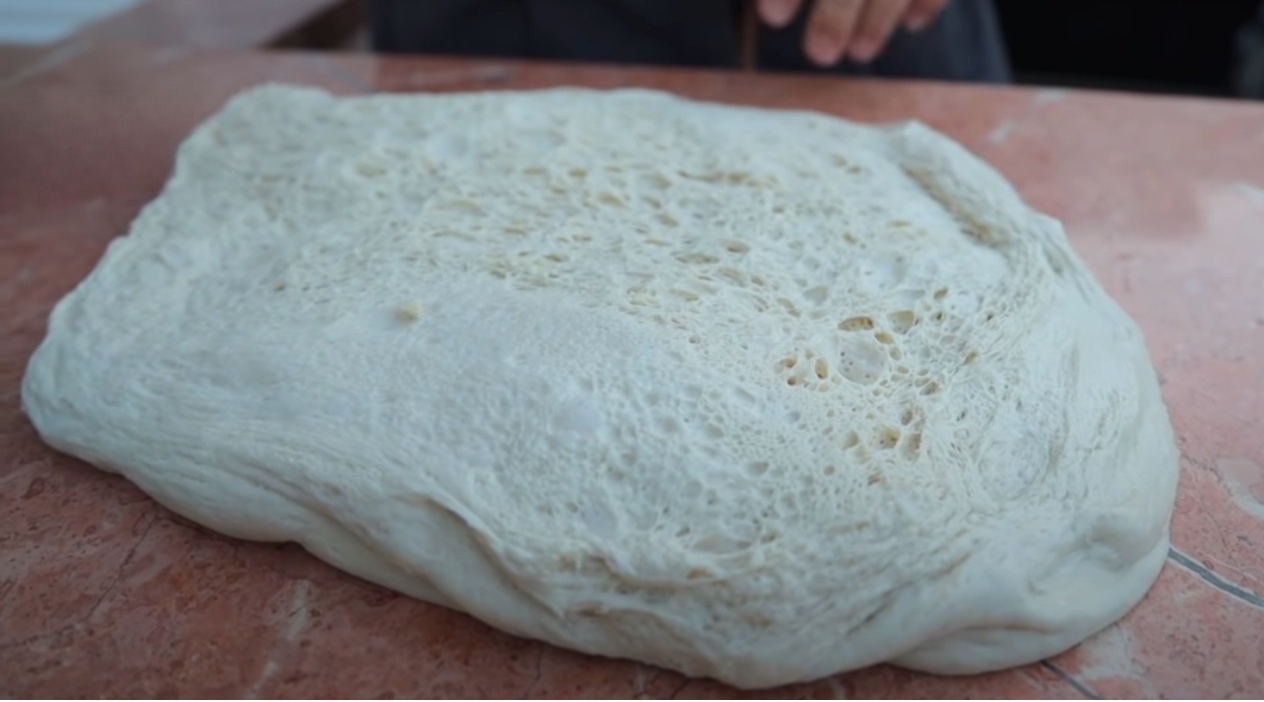
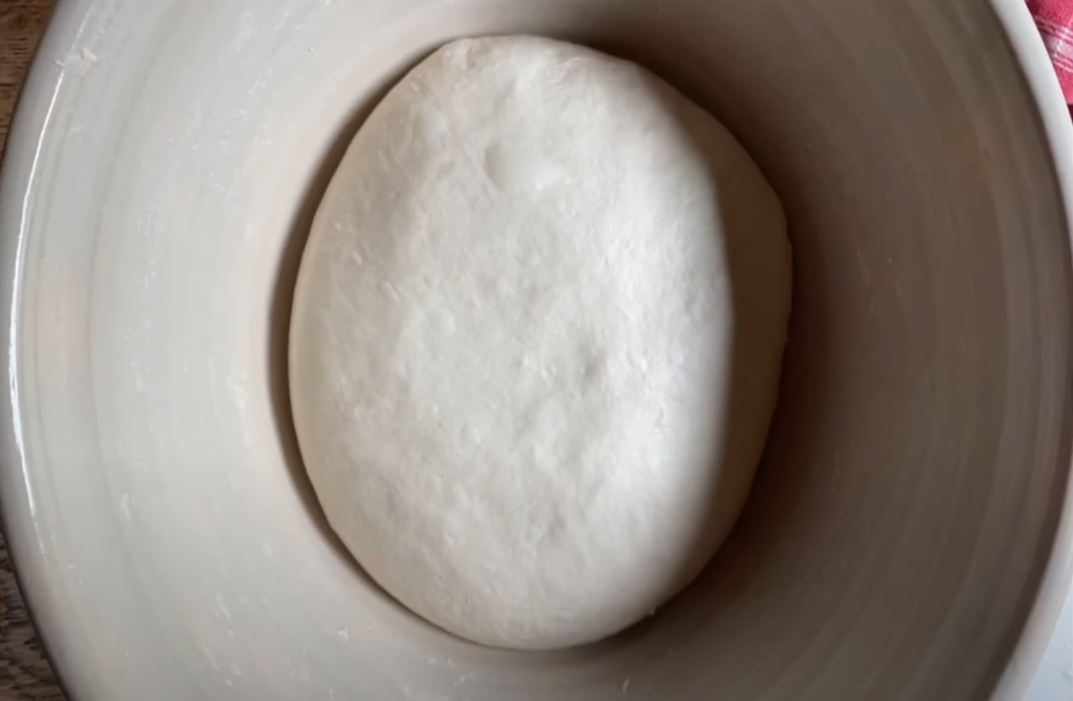
Once the dough is ready, let it rise for a few hours until it has doubled in size. Then, it’s time to shape the dough into pizza crusts and add your desired toppings. Bake the pizza in a hot oven until the crust is crispy and the cheese is melted and bubbly.
Overall, using poolish in pizza dough is a simple yet effective way to elevate the flavor and texture of your homemade pizza. With a little bit of patience and practice, you can master the art of pizza-making with poolish and impress your friends and family with delicious, restaurant-quality pizza.
Preparing Your Poolish
Now that we understand what poolish is and its benefits let’s get to making our poolish. But before we dive into the recipe, let’s explore a bit more about the history and origin of poolish.
Poolish is a type of pre-ferment that originated in Poland in the early 19th century. It was first used as a way to make bread more flavorful and to extend its shelf life. The word “poolish” comes from the French word “polonais,” which means Polish. Today, poolish is a popular technique used by bakers all over the world to create delicious and flavorful bread.
Choosing the Right Ingredients
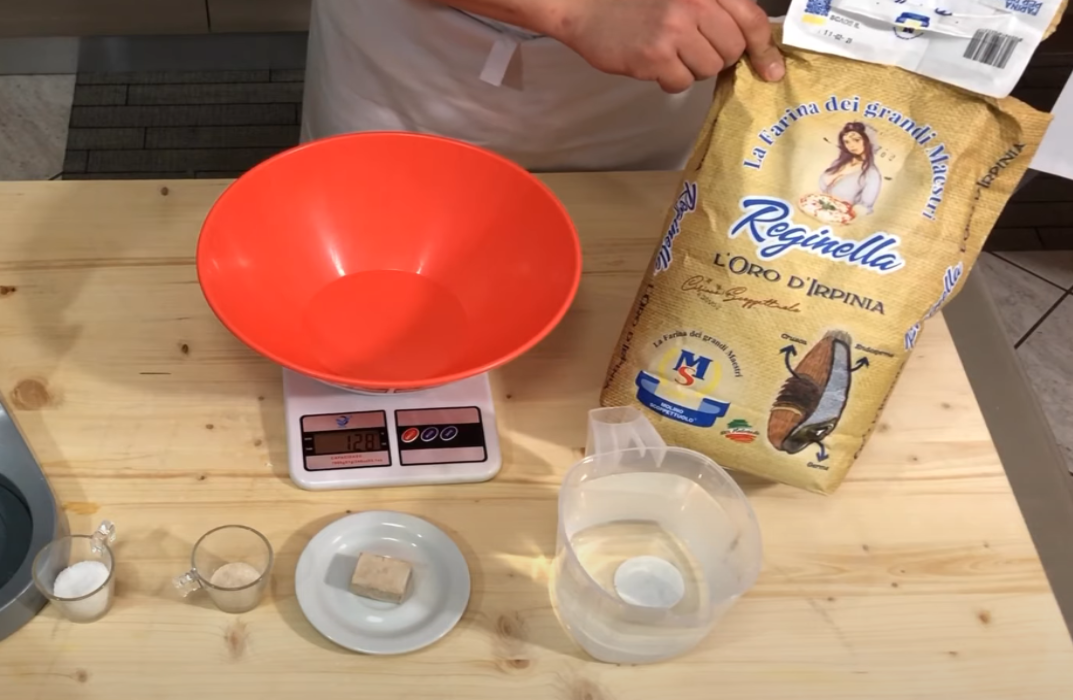
The first step in preparing your poolish is selecting the right ingredients. While the basic poolish recipe calls for bread flour, water, and instant yeast, you can experiment with different types of flour and yeast to achieve different flavors and textures. For example, using whole wheat flour will give your poolish a nuttier flavor, while using sourdough starter instead of instant yeast will give your poolish a tangy taste.
It’s important to note that the quality of your ingredients will affect the final result of your poolish. Always use high-quality flour and filtered water to ensure the best possible outcome.
Mixing and Fermenting the Poolish
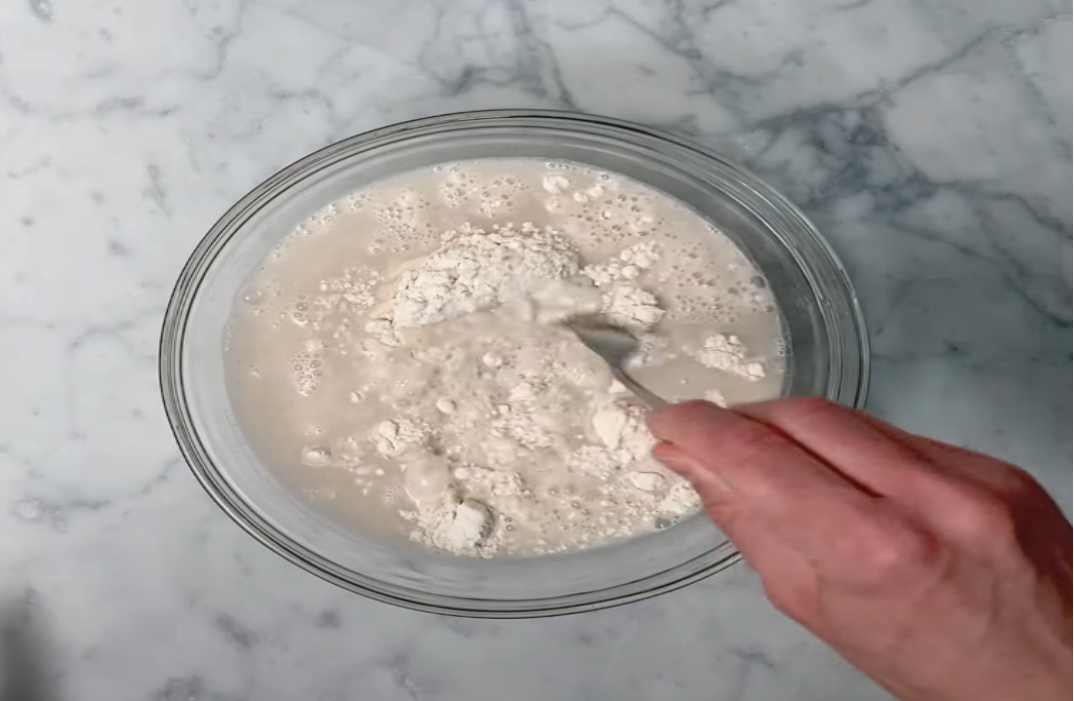
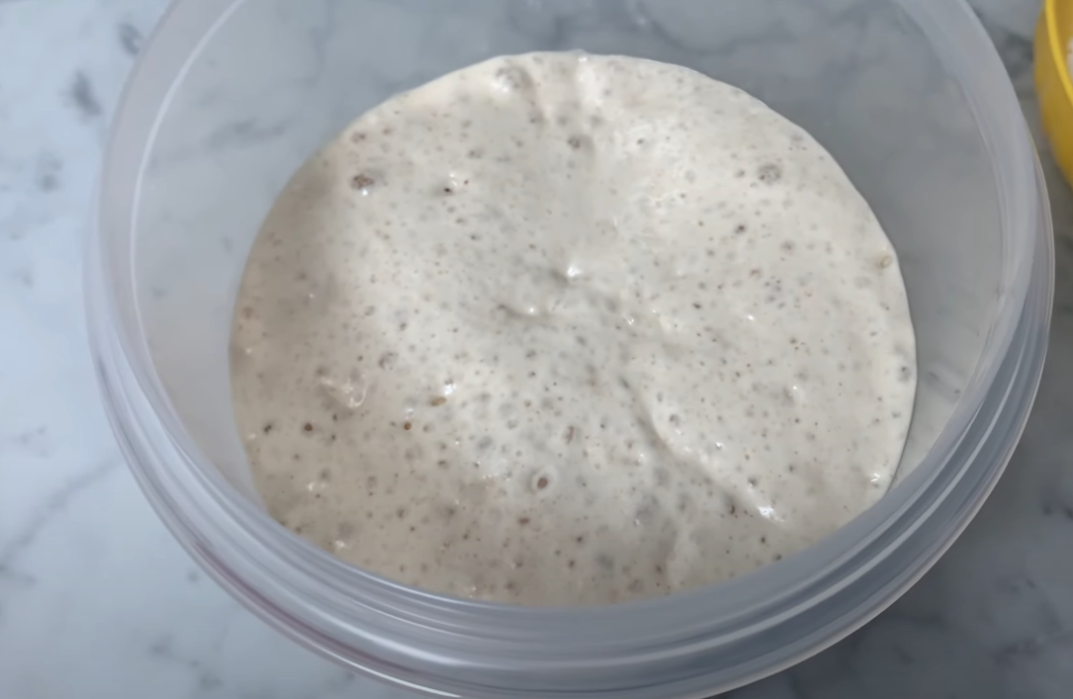
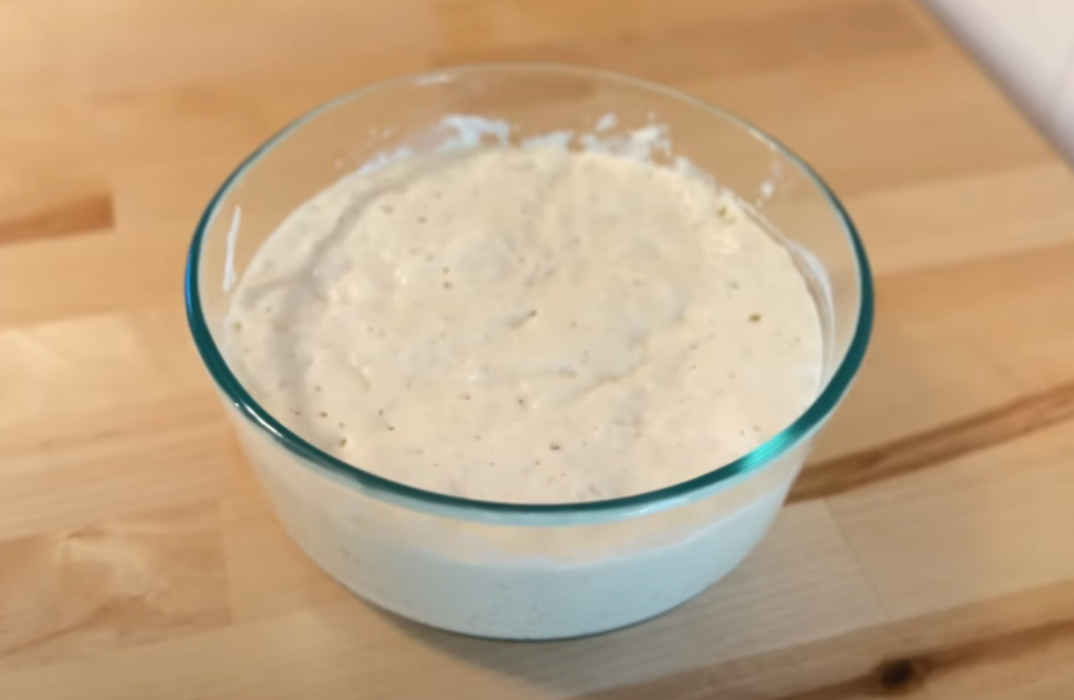
To mix the poolish, combine the flour, water, and instant yeast in a bowl. Mix well, cover with plastic wrap, and leave it to ferment for at least 12 hours. During fermentation, you will notice that the poolish will become bubbly and more elastic. The longer you leave it to ferment, the more flavor it will develop.
It’s important to keep an eye on your poolish during fermentation. If it starts to smell sour or rotten, it’s a sign that it has gone bad and should be discarded.
Poolish Fermentation Time and Temperature
The optimal poolish fermentation time and temperature will depend on the recipe you’re using. However, the standard fermentation time is between 12 to 24 hours. Ideally, the temperature should be between 68°F to 72°F. If your kitchen is too cold, you can place the poolish in a warm spot or use a proofing box to maintain the temperature.
Once your poolish is ready, you can use it to make a variety of bread, such as baguettes, sourdough, and ciabatta. The possibilities are endless!
Making the Pizza Dough
Now that you have your poolish ready let’s start making pizza dough.
Understanding the Importance of Pizza Dough
Pizza dough is the foundation of any great pizza. It is what makes the crust crispy on the outside and chewy on the inside. Making pizza dough from scratch is not only fun, but it also allows you to customize your pizza to your liking.
Incorporating the Poolish into Your Dough
To incorporate the poolish into your dough, mix it with the rest of your flour and water, and knead until it forms a smooth and elastic dough. The poolish adds flavor and complexity to the dough, making it tastier and more aromatic. Let the dough rest for a few minutes, then knead again. Repeat the kneading process, if necessary, to develop the gluten.
Kneading and Developing Gluten
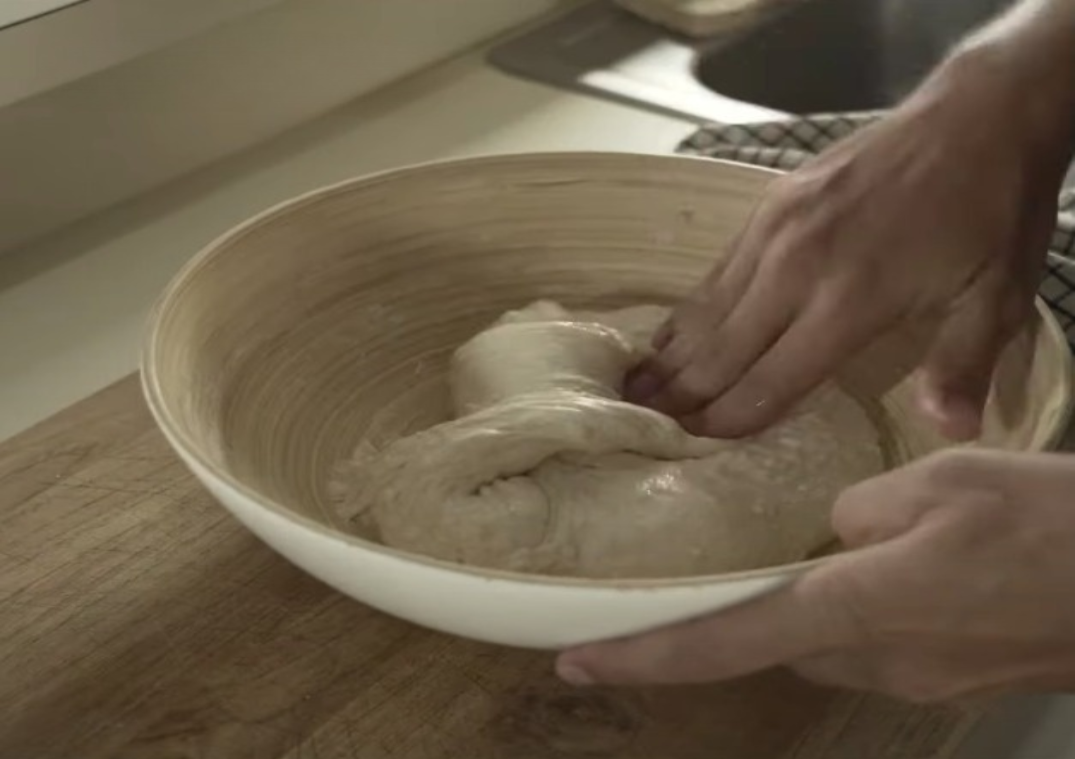
The kneading process is crucial as it helps to develop gluten, a protein that gives the dough structure and elasticity. Gluten is formed when the flour is mixed with water and kneaded. You can knead your dough by hand for 10-15 minutes, or with the help of a stand mixer for 5-7 minutes. Kneading the dough properly ensures that it rises well and has the right texture.
The Importance of Resting the Dough
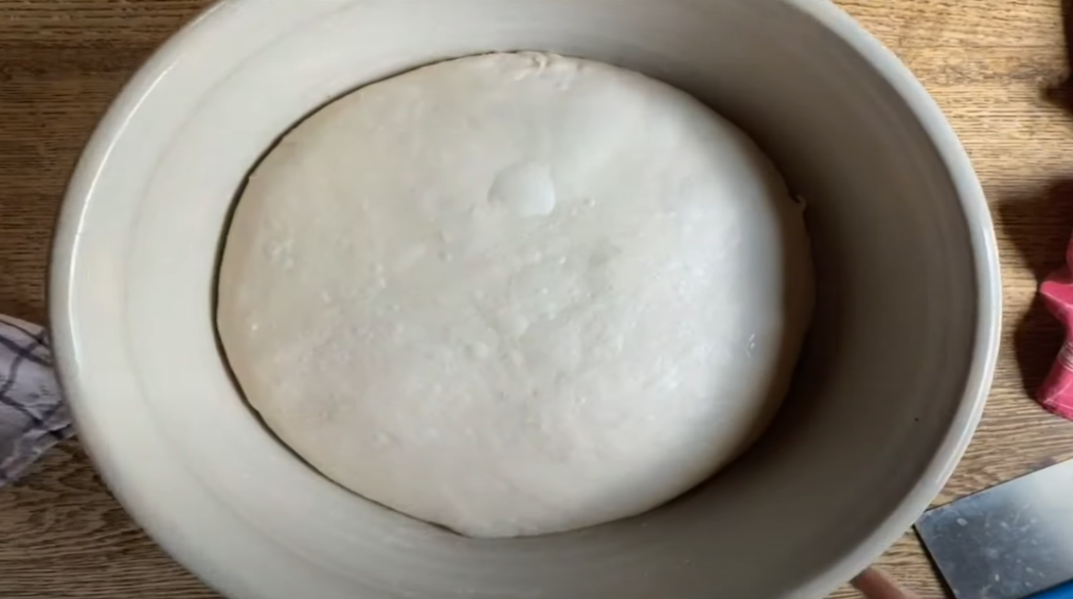
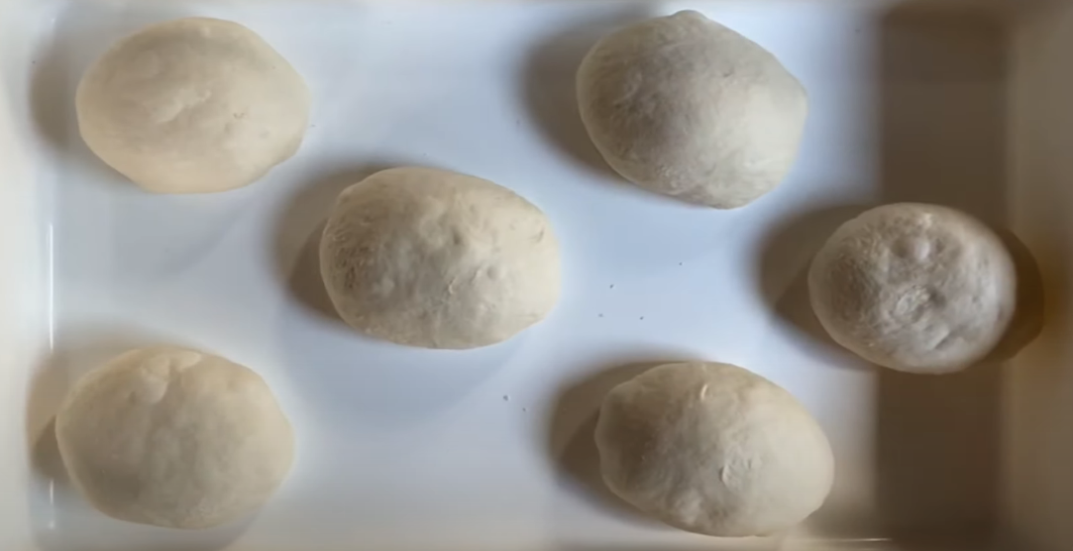
After kneading, let your dough rest for at least 30 minutes. This resting time allows the gluten to relax and makes it easier to shape the dough. Resting also allows the yeast to activate and produce carbon dioxide, which makes the dough rise.
Choosing the Right Flour
Choosing the right flour is important when making pizza dough. Use high-protein flour, such as bread flour or all-purpose flour, to give your dough a good structure. Avoid using low-protein flours, such as cake flour or pastry flour, as they will not give your dough the right texture.
Adding Flavor to Your Dough
You can add flavor to your pizza dough by adding herbs, spices, or cheese to the dough. Adding garlic, basil, or oregano to the dough gives it a delicious Italian flavor. Adding cheese, such as Parmesan or mozzarella, makes the dough richer and more flavorful.
Conclusion
Making pizza dough is a fun and rewarding experience. With a little practice, you can make delicious homemade pizza that rivals any pizzeria. Remember to use high-protein flour, knead the dough properly, and let it rest to develop gluten and rise. Happy baking!
Shaping and Topping Your Pizza
Now that your pizza dough is ready let’s get to topping it.
How to Stretch and Shape Pizza Dough

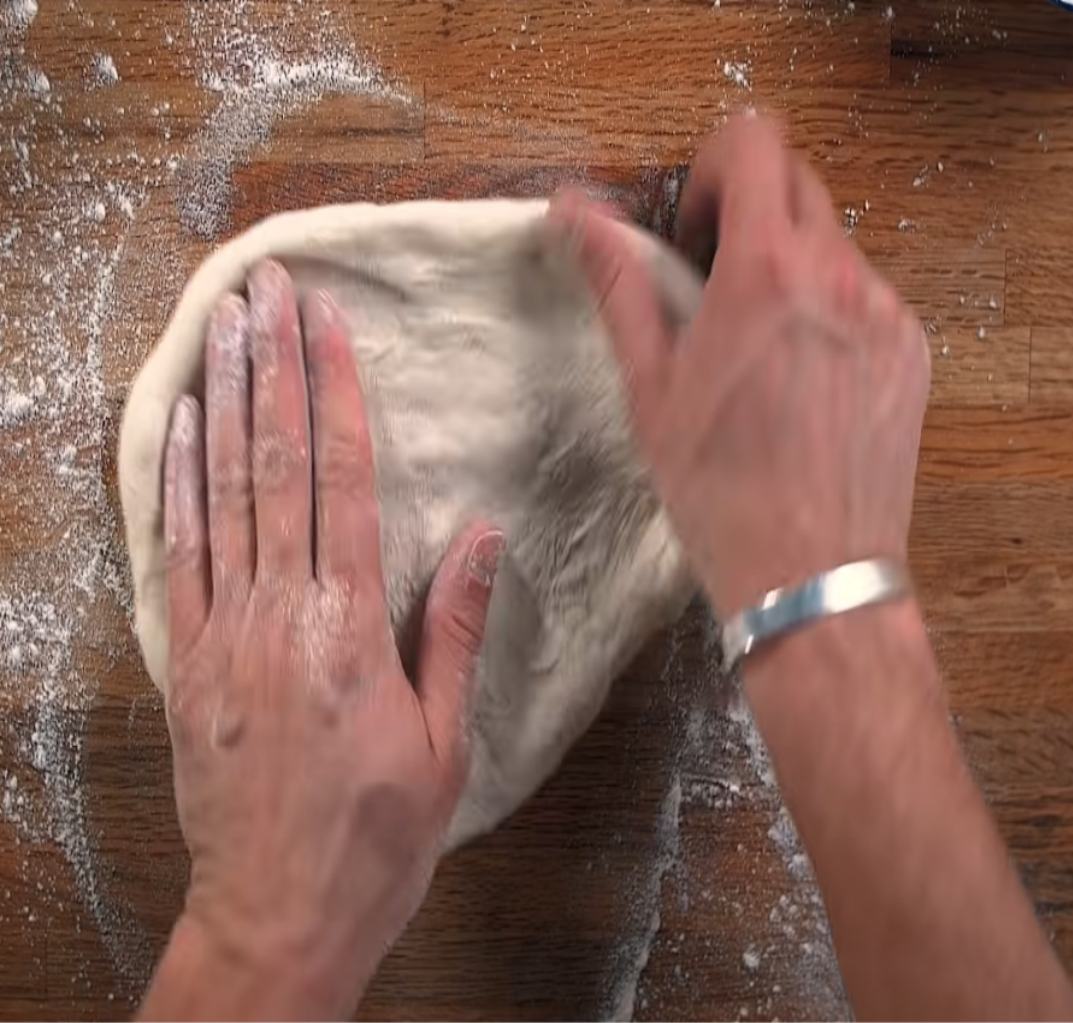
Stretching and shaping pizza dough is a crucial step in making the perfect pizza. The key is to be gentle and patient. Start by dusting your work surface with flour to prevent the dough from sticking. Place the dough on the surface and use your fingertips to gently press down on the center of the dough, working your way outwards. Slowly stretch the dough by pulling it gently and rotating it as you go. If you prefer, you can also use a rolling pin to shape the dough. However, be careful not to overwork the crust, as this can cause it to become tough and chewy.
Choosing the Perfect Toppings
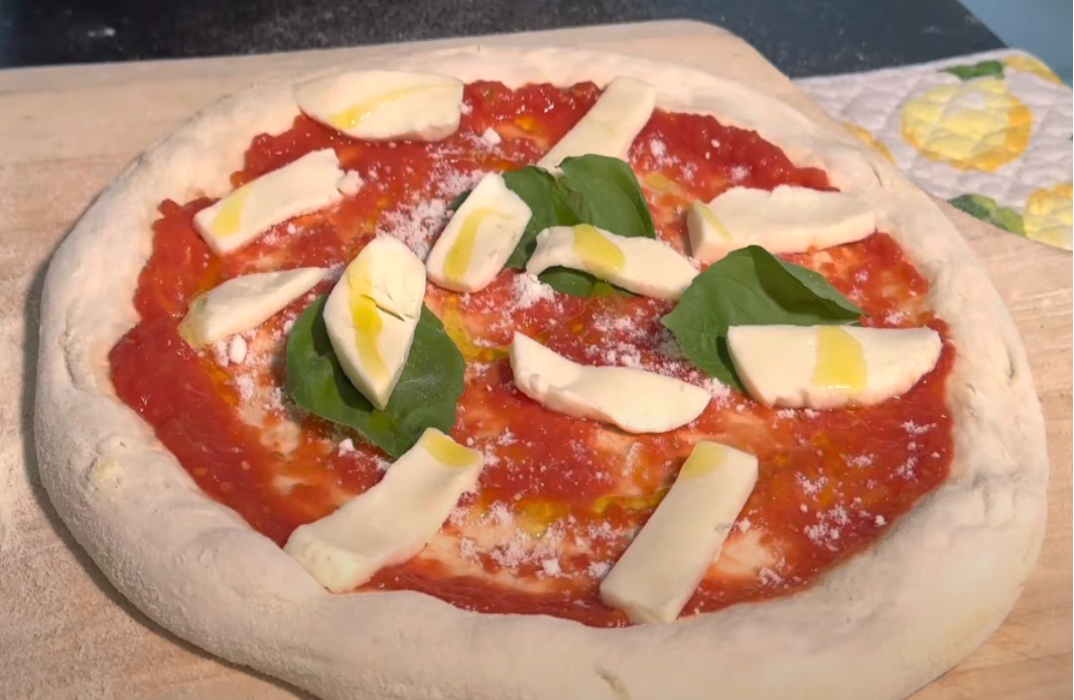
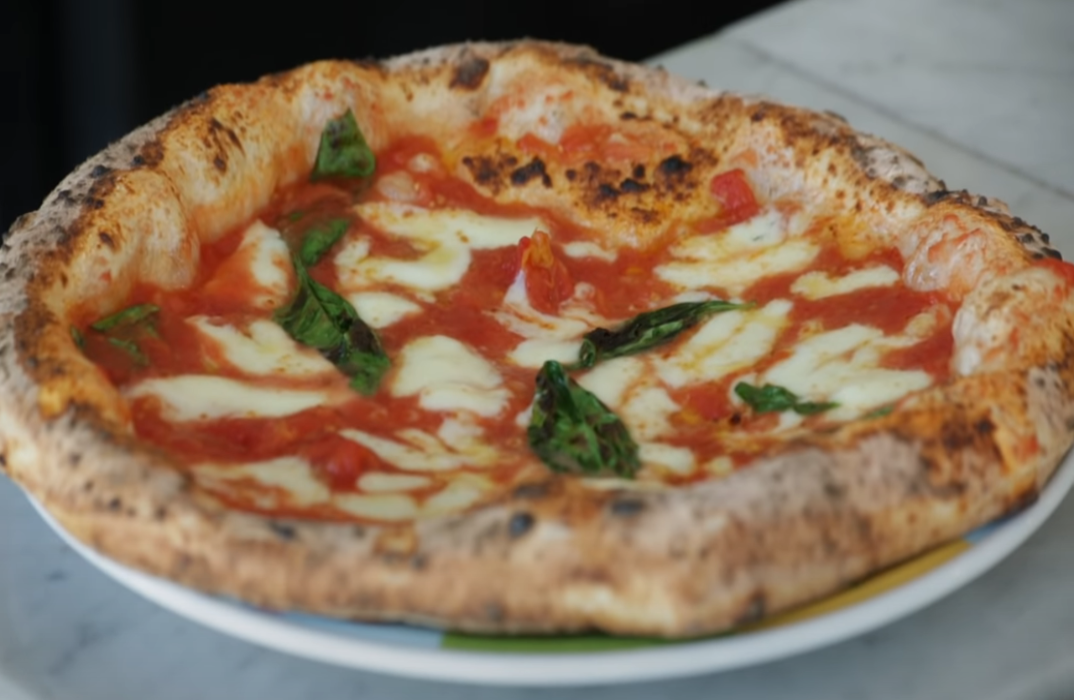
The toppings you choose can make or break your pizza. While the options are endless, it’s important to choose toppings that complement each other well. If you’re making a classic Margherita pizza, for example, stick with simple toppings like fresh basil, mozzarella cheese, and tomato sauce. If you’re feeling adventurous, try adding toppings like caramelized onions, roasted garlic, or even sliced peaches.
Tips for Evenly Distributing Toppings
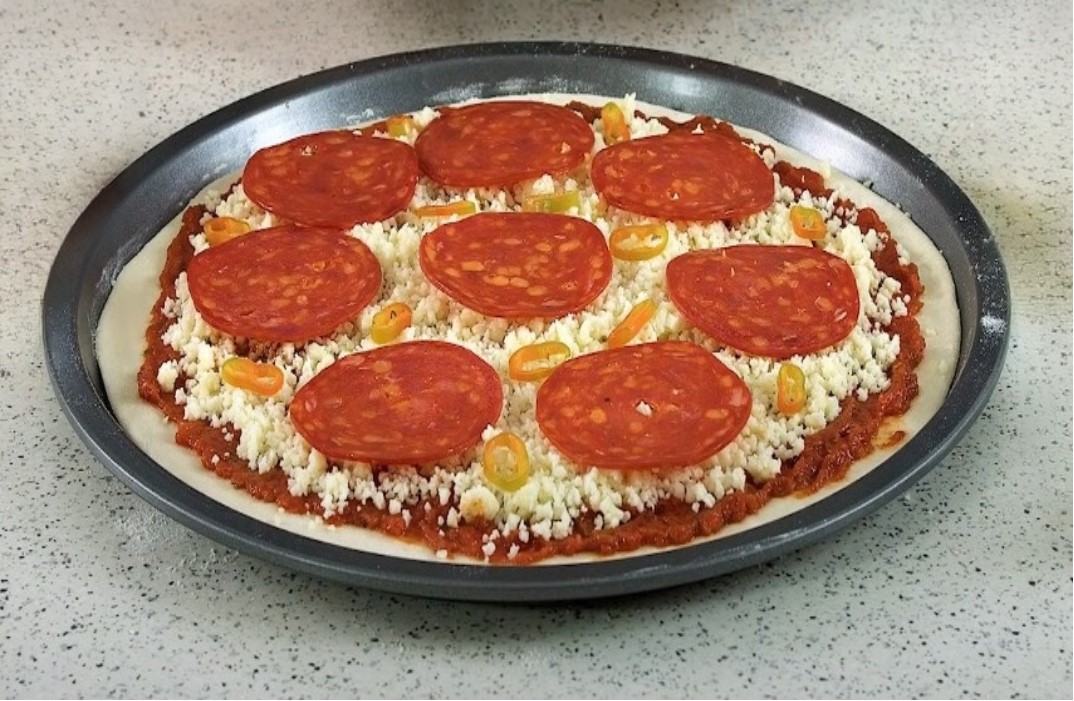
One of the most important parts of topping a pizza is ensuring that the toppings are evenly distributed. Start by spreading your sauce over the crust, using a spoon or ladle to distribute it evenly. Next, add your cheese, making sure to cover the entire surface of the pizza. Finally, add your meat or vegetables, being careful not to overload the pizza. Remember to spread the toppings evenly over the crust, leaving a bit of space around the edges for the crust to rise.
Now that you know how to shape and top your pizza, it’s time to get creative! Experiment with different toppings and flavor combinations to find your perfect pizza.
Baking Your Poolish Pizza
Now that you’ve got your pizza ready to bake, let’s get down to the baking. Baking a pizza can be a fun and rewarding experience, especially when you get that perfect crispy crust and gooey cheese. Here are some tips to help you achieve that perfect pizza.
Preheating Your Oven and Pizza Stone
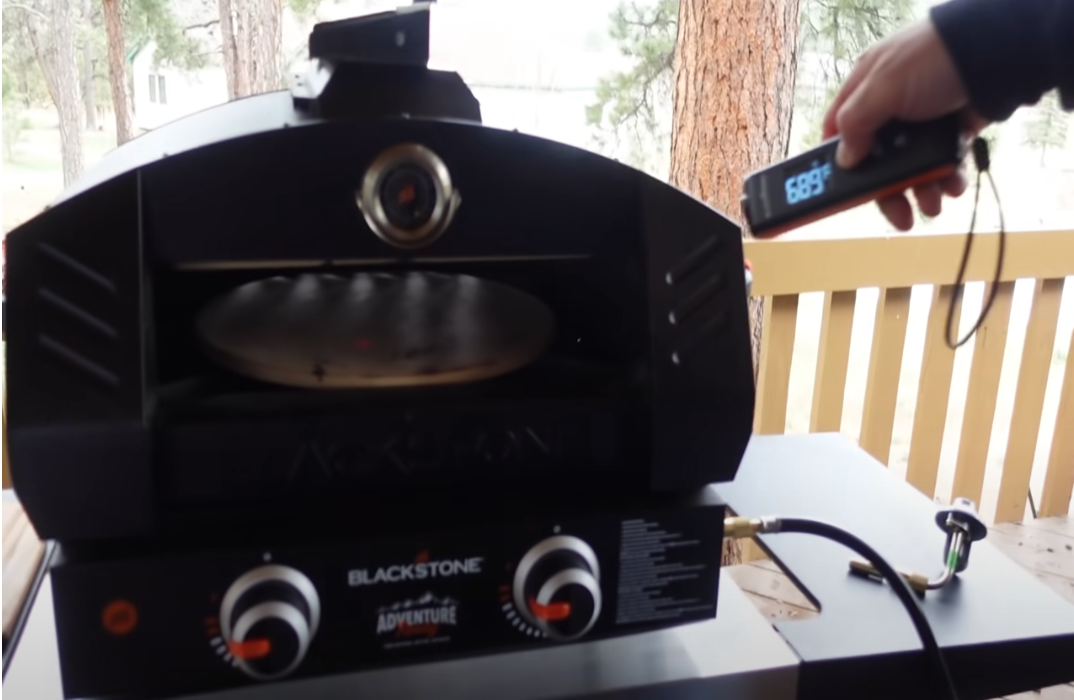
Preheat your oven and pizza stone to 500°F for at least 30 minutes. This will give your pizza stone enough time to absorb the heat and distribute it evenly. The pizza stone will help to absorb the moisture from the crust, resulting in a crispier crust. If you don’t have a pizza stone, you can use a baking sheet, but keep in mind that the crust may not be as crispy.
Cooking Time and Temperature

Cook your pizza for 10-12 minutes or until the crust is golden brown and the cheese is melted and bubbly. Keep a close eye on your pizza while it’s cooking to avoid burning it. Every oven is different, so the cooking time may vary. If you’re unsure, you can use a pizza peel to lift the pizza and check the bottom of the crust.
Achieving a Crispy, Golden Crust
To achieve a crispy, golden crust, brush the edges of the crust with olive oil or garlic butter before baking. This will help to prevent the crust from burning and give it a nice golden color. Another option is to bake the pizza directly on the pizza stone, as this will help to crisp up the bottom of the crust. You can also sprinkle some cornmeal on the pizza peel before placing the pizza on it, as this will prevent the pizza from sticking to the peel and make it easier to slide onto the pizza stone.
Remember, practice makes perfect when it comes to baking pizza. Don’t be afraid to experiment with different toppings and techniques to find what works best for you. Happy baking!
Serving and Enjoying Your Poolish Pizza
Finally, your pizza is ready, and it’s time to enjoy it. Here are a few tips to serve your pizza like a pro.
Letting Your Pizza Rest Before Slicing
Allow your pizza to rest for a few minutes before slicing it. This time will allow the cheese and toppings to set and make it easier to slice.
While your pizza is resting, take a moment to appreciate the aroma of the freshly baked crust and the savory scent of the toppings. Take a deep breath and savor the anticipation of the first bite.
Pairing Your Pizza with Wine or Beer
Now that you have a delicious pizza, what could be better than pairing it with your favorite wine or beer? A light-bodied red wine or a crisp lager beer goes well with most pizzas.
For a red wine, try a Chianti or Pinot Noir. These wines have a light to medium body and a smooth finish that complements the pizza’s flavors. If you prefer beer, try a pilsner or a pale ale. These beers have a light, refreshing taste that balances the richness of the pizza.
Remember, the key to a successful pairing is to choose a beverage that complements the pizza’s flavors without overpowering them. So, take your time and experiment with different combinations until you find the perfect match.
Storing and Reheating Leftover Pizza
If you have any leftovers, store them in an airtight container in the refrigerator for up to three days. To reheat, place the pizza in a preheated oven at 375°F for 10-12 minutes or until heated through.
Leftover pizza can be a delicious snack or meal, but it’s important to reheat it properly to maintain its texture and flavor. Avoid using the microwave, as it can make the crust soggy and the cheese rubbery. Instead, use the oven to reheat the pizza slowly and evenly.
As you savor the last bite of your pizza, take a moment to appreciate the craftsmanship that went into creating it. From the poolish starter to the toppings, each ingredient was carefully selected and prepared to create a pizza that is both delicious and satisfying.
Conclusion
There’s something incredibly satisfying about making pizza from scratch, and even more so when you use poolish in your dough. The use of poolish enriches your dough with flavor and helps to create a crust that is crispy and tender on the inside. With the guide above, you now have all the tips and tricks to make pizza with poolish in your very own kitchen. So, grab your apron, and get started on making your very own poolish pizza!